Forms in Framer are simple and built-in — no third-party needed for basic email submissions.
"Send To" Email routes all data to your inbox in a clean, labeled format.
Input "Name" directly controls submission readability — use descriptive labels.
Wide range of input types with built-in validation (especially Email, required fields).
Adding fields is fast: duplicate + configure + nest inside form.
100% no-code — perfect for template users and beginners.
Focus on usability: clear data in emails, prevent empty submissions with required.
#What is This Framer Blog?
This is a free, beginner-level framer resource titled "Framer Forms — How to Use Framer Templates #8" on the Framer Marketplace, created by Adam Sebesta and published about 1 month ago. It serves as a straightforward guide to using and configuring forms in Framer templates to collect user information (e.g., contact inquiries, feedback, help requests) without complex setup or third-party tools. The focus is on practical basics: selecting forms in templates, setting submission destinations (like email), managing input fields with proper naming and types, marking required fields, and adding new inputs — all no-code. At around 10 minutes reading time, it's part of the "How to Use Framer Templates" series, designed for quick wins in making templates functional for real user data collection.
#What You’ll Learn ⚡
Where forms live in most templates (e.g., on Contact, Help, or Feedback pages) and how to select them on canvas or via Layers panel.
Setting up form submissions: use the "Send To" property in the right panel to route data (e.g., to your email address so you receive all values in one message).
Input field management: each input has a "Name" property that labels data in submissions for readable emails.
Available input types and when to use them: Text (general/short), Text Area (longer messages), Email (with built-in validation), Number, Phone number (mobile-optimized keyboard), URL, Date, Time.
Marking fields as required to prevent submission until filled.
Adding new inputs: duplicate existing ones (CMD/CTRL + D), set type and Name, ensure they're nested inside the form element for inclusion.
Best practices for clean, usable forms: choose appropriate types for data validation, use clear Names for easy data reading, and keep inputs inside the form container.
#Who Is This For?
This tutorial is ideal for:
Beginners using Framer templates who see a pre-built form but don't know how to make it send data or customize fields.
New Framer users building contact pages, feedback forms, or simple lead capture without external services.
Designers remixing Marketplace templates and needing to configure forms for client projects or personal sites.
Anyone wanting no-code form basics in Framer before diving into advanced plugins or integrations.
Template users who want quick, reliable ways to receive submissions via email without setup hassle.
It's especially helpful if you've duplicated a template with a form but submissions aren't working or data looks messy.
#Blog Brief Breakdown
The tutorial is concise, visual, and step-by-step with clear instructions and likely screenshots:
Forms Basics — Explains forms collect user info (e.g., contact/feedback pages); most templates include one on Contact — select via canvas or Layers panel.
Form Submission Setup — Default: no destination → no send; select form → right panel → "Send To" → choose Email → enter your address → submissions arrive as readable emails with all values.
Input Names & Data Labeling — Each input's "Name" property becomes the label in emails (e.g., Name: [value]); clear Names = easy-to-read submissions.
Input Types & Validation — Covers Text, Text Area, Email (auto-validates), Number, Phone, URL, Date, Time; mark as required to enforce completion.
Adding & Configuring New Inputs — Duplicate existing input (CMD/CTRL + D); set type from dropdown; give meaningful Name; ensure nesting inside form element for auto-inclusion.
Wrap-up — Summary: configure Send To, choose types, name fields clearly, add inputs as needed — build and manage forms confidently without complexity.
Frequently Asked Questions
Do I need any external service for Framer forms?
No — basic submissions send directly to your email via Framer's built-in "Send To" feature.
How do I make a field required?
Select the input → right panel → toggle "Required" — form won't submit until filled.
Why use specific input types like Email or Phone?
They provide built-in validation (e.g., Email checks format) and better mobile keyboards (e.g., Phone shows numeric pad).
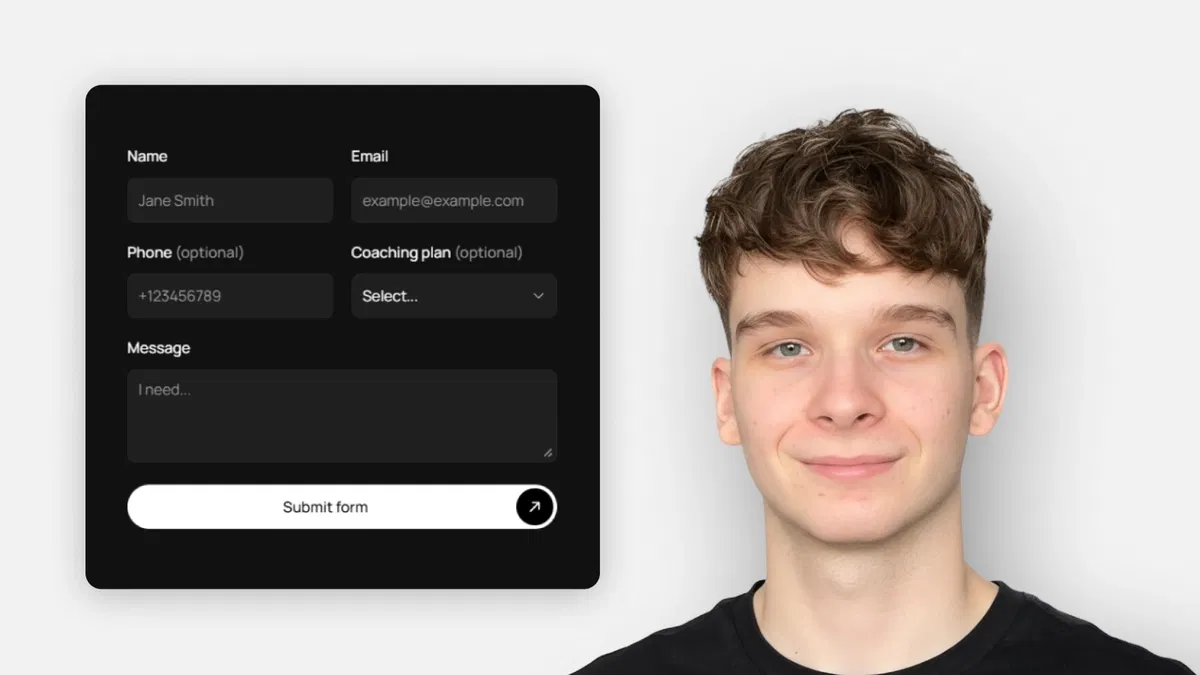
Framer Forms
No-code Framer tutorial on setting up forms in templates
Resource Types :


Have a product?
Submit your Framer product to AllFramer, get featured, and drive genuine traffic while showcasing your work to the world. Turn your creativity into revenue and begin selling today! 🚀
Submit Resource